If you are interested, please contact us!
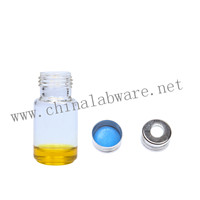
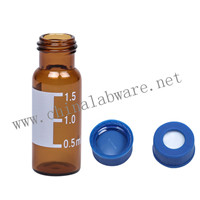
The use of a headspace sampler eliminates the tedious and tedious sample preparation process, CTC headspace vials avoids interference from the organic solvent and reduces contamination of the column and inlet. The headspace sampler can be connected to various types of gas chromatographs at home and abroad. The specific operation steps of the headspace sampler are divided into six.
1. Set the parameters and place the sample. Set the “sample”, “valve box”, “pipeline” temperatures. The sample is 50 degrees, the valve box is 130 degrees, and the pipeline is 140 degrees. After the temperature was stabilized, the sample was placed, and after balancing for 30 minutes, the following operation was performed.
2. Blow before injection. Set the purge pressure to 0.2-0.3 MPa. Press the purge button and turn it off after about 30s.
3. Prepare for injection. First pipe the sample tube into the appropriate bottle and tie the sample tube to the chromatographic inlet. Observe the pressure test of the headspace sampler, which will increase from small to large. When it is stable, adjust the “Carrier Gas Adjustment” knob to increase the pressure display by one grid (0.02Mpa).
4. Inject and start sampling. Press “Inject” to operate the chromatograph at the same time to start sampling. Hear the sound of "咔" and then "砰". Remove the sampling tube after 2s-3s.
5. Pull out the sample tube. When you hear the "ping" sound, the injection lamp is off and the sample tube is pulled out. Zero the "carrier gas adjustment" CTC headspace vials.
This is the end of the introduction of Specific steps of the headspace sampler. I hope it can help you.


.jpg)


